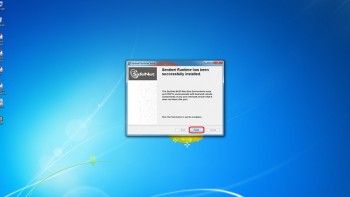
Installation guide for LH software – Windows 7
Step 1 – PC adjustment
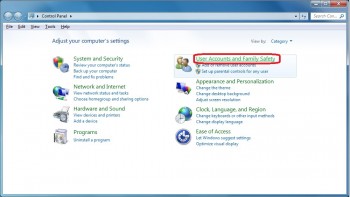
- Click the «Start» Button and select «Control Panel». Select «User Accounts and Family Safety».
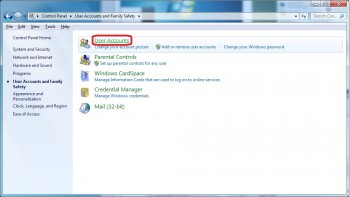
- Select «User Accounts».
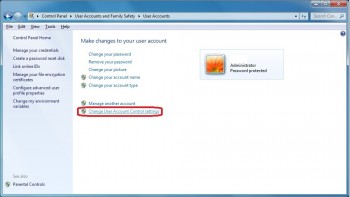
- Select «Change User Account Control settings».
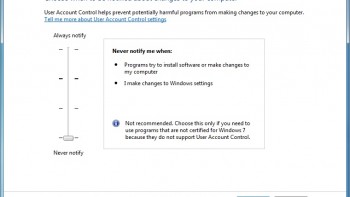
- Move the slider to the Never notify position, and then click OK.
- Restart your computer for UAC to be turned off and continue with Step 2.
Step 2 -Run *.EXE file
- Fespa EC
- Tekton
- Master (Fespa EC & Tekton)
- Steel Connections
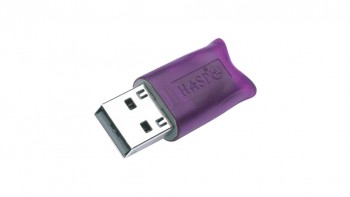
Note 1: During the installation the hasp USB must not be plugged in your PC.
The program was downloaded from the LH Logismiki website
- Select the *.EXE file that you downloaded on your PVC and double click on it.
- Continue with Step 3 – Installation.
Note 2: Usually files are downloaded in the «Downloads» file, unless otherwise specified.
You have a CD containing the program
- Insert the installation CD in your PC and wait for the dialog window to pop up.
- In the installation window select the program that you would like to install.
- Continue with Step 3 – Installation.
Step 3 – Installation
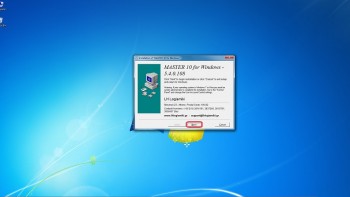
- In the installation dialogue window select «Next».
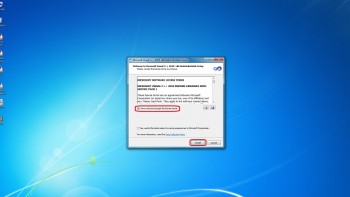
- After finishing with the installation of the main software, the installation of Microsoft Visual C++ (required for the proper function of LH Logismiki software) starts automatically..
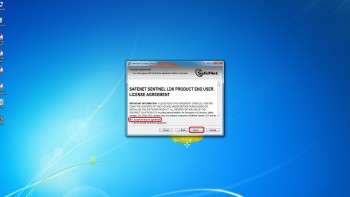
- After finishing with the installation of Microsoft Visual C++, the drivers of hasp USB are automatically installed.
- After the completion of the installation a *.txt file opens with useful information about the files that were installed in your PC.
Step 4 – Activation
- Start the software by double clicking on its desktop icon.
- When starting the software for the first time you will be asked to activate it online or via telephone.
If your PC is connected to the internet: Select «Yes», the program will be automatically activated.
If your PC is not connected to the internet:Select «No» and call the Support department for the activation process to be completed via telephone.
- You may install any other LH Logismiki program by repeating the installation procedure, starting from step 2.


